Do you love Easter and Easter eggs? I do! Keep reading to find a super cool way to decorate your eggs this year!
I spent several days looking at different and cool ways to do Easter eggs. As you can see on my Pinterest board, you can use natural dyes (plants and spices), gold leaf, decoupage, or my favourite but most complicated, Ukrainian Easter eggs. In order to make it a super cheap DIY, I went with this awesome marbled egg design.
What you need:
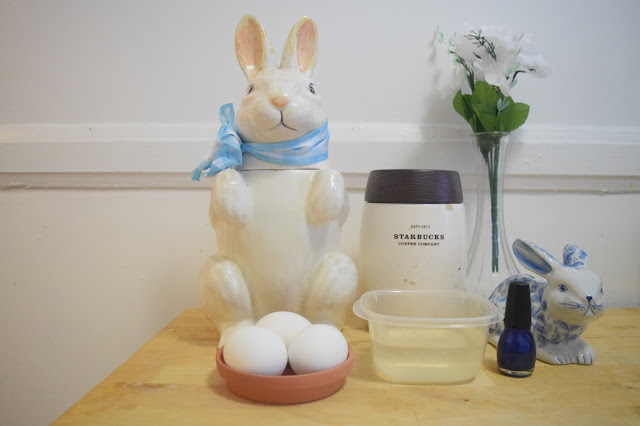
Real, hardboiled eggs, or fake eggs with smooth surfaces
A container you're okay to throw out
Room-temperature water (the nail polish will sink if the water is cold)
Nail polish of your choice
A stirring stick
A tray to hold the eggs while they dry
Rubber gloves
Pour several drops of the nail polish into the water. Let it spread out by itself first on the top of the water, and then stir it so that you get a cooler design.
The nailpolish makes a film on the water, so when you dip the eggs in a spot, that's what you're getting. You can do one side at a time, then lay the egg down to dry. They dry relatively quickly, and then you can get to the other side.
Keep in mind: sometimes there is a very, very faint layer of nailpolish in the surface which will make the drops not spread out properly. Clear away the film before you go again.
Don't you just love that bunny cookie jar and bunny bank? You can tell I have a thing for bunnies.
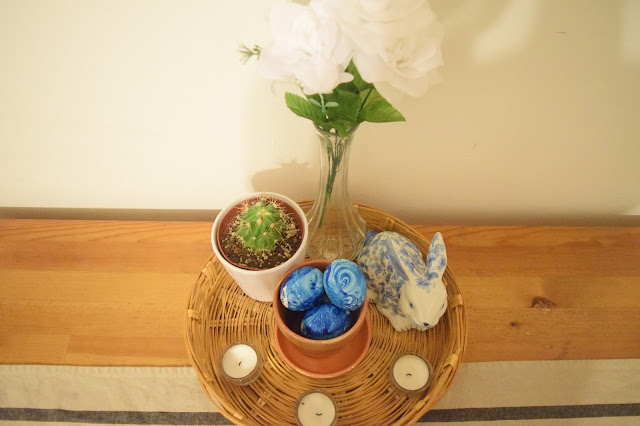
I made this adorable centrepiece to go with it, and I love the white and blue theme.


No comments:
Post a Comment